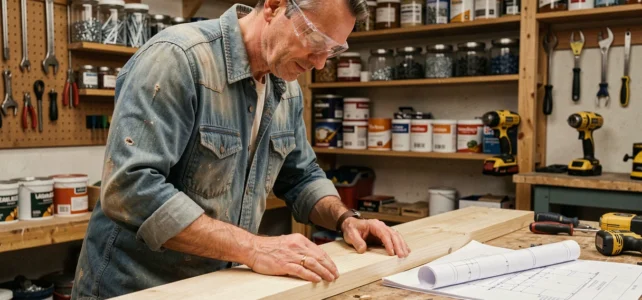
A successful interior transformation project relies less on the scale of the work than on mastering a few precise technical gestures. Before touching any wall or piece of furniture, the preparation of the substrate and the choice of tools determine the durability of the result. The DIY tips that truly make a difference are not the most spectacular, but those that eliminate rework and sloppy finishes.
Preparation of substrates before painting: the step that most DIYers underestimate
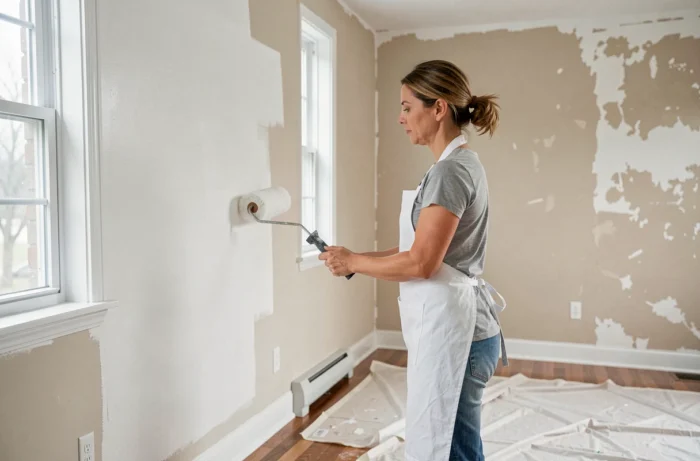
A layer of paint does not correct anything. On a micro-cracked wall, a coat of matte acrylic will only reveal every flaw in low-angle light. We systematically recommend applying a filler (fiber-reinforced type for active cracks), followed by sanding with 120-grit, and then a suitable primer for the substrate.
The primer is not optional. On a porous substrate (raw plaster, new coating), it regulates absorption and prevents differences in gloss between areas. On a smooth surface or one already painted with lacquer, a light sanding with 180-grit creates the mechanical grip without which the new paint will peel within a few months.
We regularly find DIY tips on Bobo Le Brico that detail these preparation steps with useful visual guides for each type of wall.
The drying time between coats is another critical point. Applying a second coat on a film that is not completely dry causes micro-blisters. Under normal conditions (ambient temperature above 15 °C, humidity below 70%), count the time indicated by the manufacturer, then add a safety margin.
Choosing wall fixings: allowable load and nature of the substrate
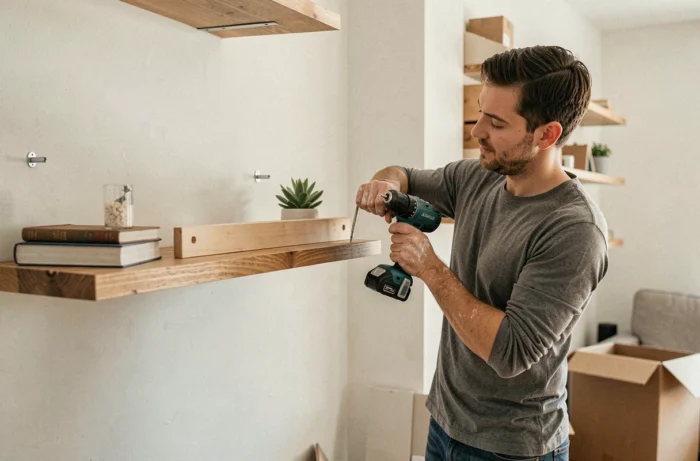
An improperly sized fixing is the primary cause of damage to drywall. Classic expansion plugs are suitable for concrete or solid brick, but not for plasterboard. For the latter, toggle bolts (Molly type) or self-drilling nylon anchors distribute the load by spreading behind the board.
First and foremost, identify the substrate. A simple screwdriver test is enough: if the tip sinks in easily, you are on hollow plaster or insulating backing. If it resists firmly, it’s concrete or brick.
- Plasterboard (BA13): metal Molly anchor for medium loads (shelves, rods), self-drilling screws for light loads (frames, small mirrors)
- Solid concrete: hammer-in or chemical expansion anchor for heavy loads (tall furniture, TV mounts)
- Hollow brick: chemical anchoring with injection sleeve, the only reliable solution to avoid bursting the cells
- Plaster tile: nylon screw anchor suitable for the density of the tile, with pre-drilling at the exact diameter
The diameter of the drill bit must exactly match the diameter of the anchor. A hole that is too wide negates mechanical hold. A hole that is too tight causes the fragile material to burst.
Wood finishes and furniture makeovers: prepare before painting
Repainting a varnished or laminated wooden piece of furniture without stripping or sanding results in a finish that does not hold. Sanding with 80-grit followed by 120-grit remains the most reliable method for creating a grip surface on old varnish. Chemical stripping (stripper gel) is only necessary on thick layers or difficult-to-reach moldings.
On melamine furniture, the special laminate primer is the only barrier between the non-porous substrate and the finishing paint. Without it, even high-quality paint will peel at the first impact.
The right tool changes the quality of the finish
We observe that the choice of roller influences the result as much as the paint itself. On furniture, a fine-cell foam roller (lacquer type) produces a finish comparable to that of a spray gun. A long-haired roller, suitable for textured surfaces, will leave structural marks on a smooth surface.
The trim brush remains necessary for corners and edges, but its bristles must be of sufficient quality not to lose fibers into the fresh paint film.
Management of DIY construction waste: what has changed in 2024
Even a small renovation project produces waste that now falls under stricter regulatory obligations. Since January 1, 2024, source separation into five distinct categories is mandatory for construction sites, including small-scale work as long as it generates rubble or material residues.
Specifically, this concerns leftover plaster, packaging, wood, metals, and inert waste. Mixing them in a single bin or bag risks refusal at the recycling center.
Another practical point often overlooked: since May 1, 2023, construction material suppliers are required to take back certain sorted waste. If you purchase your supplies from a DIY store or trade, inquire about the return conditions before even starting your work. This avoids storing rubble in the garage for weeks.
VAT on housing work: a recent tax clarification
The finance law for 2025 has simplified an administrative point that was blocking many individuals. The obligation to submit old Cerfa forms to benefit from reduced VAT rates has been removed as of February 16, 2025. However, work related to fossil fuel boilers has been excluded from the benefit of reduced rates.
For a DIYer who hires a craftsman for part of the project (electricity, plumbing), this change simplifies invoicing. The reduced rate still applies to improvement, transformation, or maintenance work in a home completed for more than two years, provided the nature of the work meets the conditions.
A well-managed interior transformation project combines rigorous preparation of substrates, appropriate fixings for the material, and proactive waste management. Recent regulatory developments add a layer of administrative constraints, but they remain manageable as long as they are integrated at the start of the project, not once the last brushstroke is applied.