
We exit the subway in a city we don’t know, the GPS oscillates between two parallel streets, and we head in the wrong direction for three minutes before realizing it. Most Google Maps users in pedestrian mode have experienced this scenario. The problem doesn’t stem from the app, but from poorly utilized functions, sometimes hidden behind a simple button.
Live View in pedestrian mode: the augmented reality that corrects GPS
Traditional GPS often loses accuracy in narrow streets or near tall buildings. Upon exiting the subway, the phone’s compass sometimes takes several seconds to stabilize, which is enough to mislead the walker in the wrong direction.
Live View solves this problem by overlaying directional arrows on the camera image. The function compares in real-time what the smartphone captures with Street View data to recalibrate the position, independent of the GPS signal alone.
To activate it, start a walking route, then tap the “Live View” camera button displayed next to “Start.” Camera access permission is requested the first time. After that, simply hold the phone in front of you at intersections or ambiguous junctions. The time saved is real: it avoids backtracking at the start of the journey and hesitations at complex intersections.
To delve deeper into the walking route calculation on Google Maps, some additional settings allow for further refinement of pedestrian navigation.

Walking route and offline mode: a limitation to know before you go
Google Maps allows you to download entire areas for offline viewing. One naturally assumes that this offline map also covers walking routes. This is not the case.
Walking routes do not work in offline mode, even if the area has been downloaded beforehand. Only driving routes remain available without a network. For a walker who finds themselves in a blank area (basement, remote park, rural area with weak coverage), this is a concrete trap.
The workaround is to prepare the route in advance. Start the walking route with an active connection, then take screenshots of key steps. You can also note the street names of the main turning points. It’s not elegant, but it works when the network drops mid-journey.
Multiple steps and elevation: setting up a realistic walking route
Google Maps offers the option to add multiple steps to the same route. In pedestrian mode, this function is used to create a discovery route in the city or a stroll connecting several points of interest, without having to restart navigation between each stop.
Adding steps on the mobile app
Enter the final destination, then tap the menu (three dots) and select “Add a step.” You can add several and reorganize them by drag-and-drop. The app recalculates the total distance and estimated time.
A few points to check before you go:
- The displayed walking time is based on a constant average speed, not accounting for elevation changes. On a hilly route, adding a quarter to the estimated time gives a more reliable approximation.
- The order of the steps influences the overall route. Rearranging the points in a logically geographical order (loop or line) reduces unnecessary detours.
- On some versions of the app, the elevation profile appears under the walking route. This graph helps identify steep climbs before committing to a route.
Comparing route proposals
Google Maps often displays two or three variants for the same walking route. The shortest route in distance is not always the fastest: a route along a wide avenue may be smoother than a shortcut through crowded pedestrian streets or stairs.
You save time by systematically comparing the options provided, looking not only at the duration but also at the route profile when available.
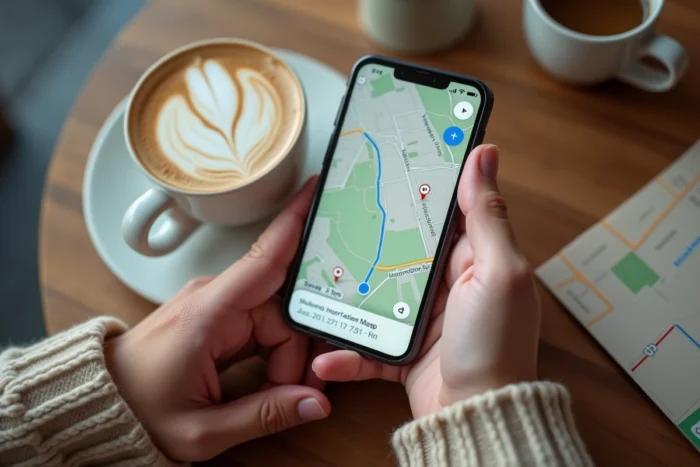
Google Maps pedestrian navigation: settings that enhance walking comfort
A few simple adjustments improve map readability while walking, without needing third-party apps.
- Map orientation in compass mode: by default, the map may remain oriented north. Tapping the compass icon (top right) switches to automatic rotation mode, where the map follows the direction of your gaze. More intuitive when walking.
- Zooming in on the immediate area reduces visual overload. In pedestrian navigation, you don’t need to see the entire neighborhood, just the next two intersections.
- Enabling voice alerts allows you to keep the phone in your pocket on straight stretches and only take it out at direction changes.
Feedback varies on the accuracy of voice alerts depending on dense urban environments, but in a typical city center, voice guidance covers most situations.
The walking route calculation on Google Maps remains the most accessible tool for preparing a pedestrian journey, provided you know its blind spots. Download the area, activate Live View at points of doubt, check elevation on hilly routes: these three reflexes cover situations where the app can waste time instead of saving it.